🟢Ubuntu安装webvirtcloud
安装过程
检查先决条件
grep -E -c "vmx|svm" /proc/cpuinfo
apt-get install cpu-checker -y
kvm-okINFO: /dev/kvm exists
KVM acceleration can be used安装KVM
apt-get install qemu-system qemu-kvm libvirt-daemon bridge-utils virt-manager virtinst -y
lsmod | grep -i kvm
systemctl status libvirtd安装nginx
apt-get install git virtualenv python3-virtualenv python3-dev python3-lxml libvirt-dev zlib1g-dev libxslt1-dev nginx supervisor libsasl2-modules gcc pkg-config python3-guestfs libsasl2-dev libldap2-dev libssl-dev -y安装webvirtcloud
git clone https://github.com/retspen/webvirtcloud
cd webvirtcloud
cp webvirtcloud/settings.py.template webvirtcloud/settings.py运行Web服务
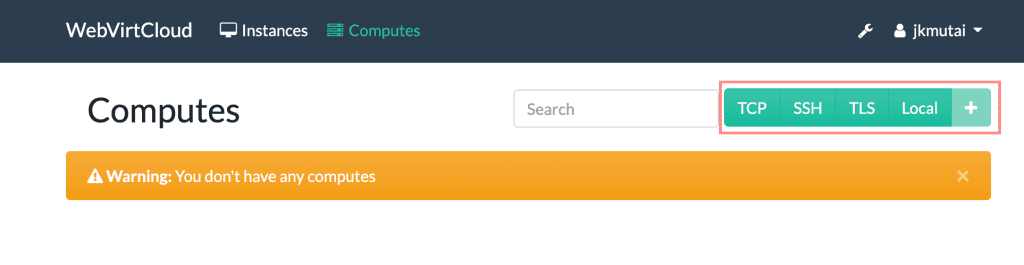
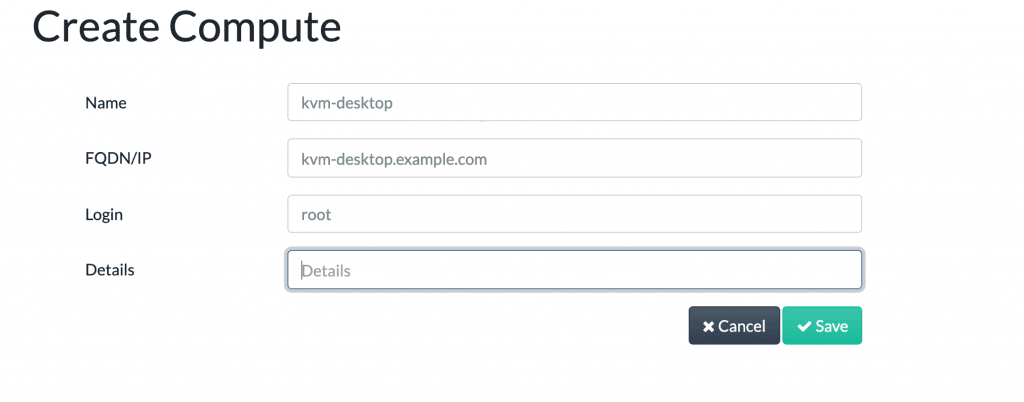
Configuring Compute SSH connection
For Local KVM Node:
安装新虚拟机
Last updated